Cell Phone Photography {Is it good enough for your Save the Date?}
Welcome to our new blog series and 3rd installment of Top Insider Tips for Printing Perfect Stationery. Today's post is about cell phone photography and choosing your Save the Date photos for resolution and printability.

Of course, we advocate using a professional photographer for all of your wedding stationery items--from your Save the Dates and Invites, to your Programs and Thank Yous. All keepsakes ... and 5-10-20 years from now, you'll appreciate the quality of one of the most important dates in your life.
But even such, cell phone photos have certainly come a long way haven't they?! Read on for tips, tricks and recommendations for getting the best print results with your cell phone photography.

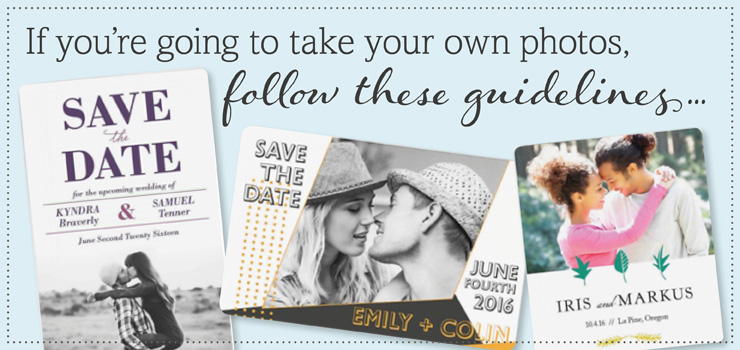
- Get close to your subject when you're taking a photo. That way the camera sensors have more control over the lighting of your subject and bright patches in the background won’t throw things off.
- If not automatic, always choose the highest resolution setting.
- Crop don’t zoom. It is better to crop and not use the digital zoom function on a smartphone camera. When you crop, you still have the good pixels of resolution (most smartphones have 8-megapixels or more), but when you zoom, the image can lose that resolution.
- It is better to edit your images on your computer as your computer will produce higher quality images.
- Keep in mind you can always make a picture black and white on your computer, but you cannot make it color if you take it in black and white.
- Cell phone flashes make skin yellow, red eyes, and motion blur. It is best to use a real camera and flash in a dark setting.
- Take lots of shots and experiment. This way you can experiment with different compositions and angles-shoot from down low, up high, close up, etc and then you can pick the one you like best.
- Think about the basic composition rules, i.e. the rule of thirds. Basically, you imagine dividing an image down into thirds on a grid so that there are 9 parts. It's about getting the viewer to interact with your photo.
Tips & Recommendations
- Whole body shots in a one-inch square Save the Date photo box will not look good.
- Don't expect facial features to be clear in a photo taken from a distance.
- Photos appear lighter on a screen due to light source (and brightness settings) and all computer screens are calibrated differently for color.
- Don't use Facebook photos--too low of resolution. If possible, get the original photo.
Keep in mind
- Photos printed on magnets print darker due to the UV protective coating
- Order a Just One® Save the Date {fully personalized} and see for yourself how your photo will look. Learn more about this program.
Need more help?
Here is a blog post that talks about resolution requirements for what size your photo needs to be at to print well.

 by:
by: 


